
While playing Warzone, there can be times when you want to record your gameplay. Either you run a YouTube channel where you share your gameplay videos, or you just don’t want to miss out on the opportunity to record some epic kills.
Unfortunately, there isn’t any in-game option in Warzone that can help you do this task. Because of this, your only option is to rely on third-party software. And today, we are going to explain how you can easily record Warzone on PC.
To record your Warzone gameplay, you can use OBS Studio. This is one of the best software for recording purposes as it can let you record high-quality footage. In our guide, we are going to explain how you can setup OBS Studio to record Warzone on your PC.
How To Record Warzone on PC Using OBS Studio
The interface of OBS Studio seems complicated at first, but you’ll get the hang of it after using it a couple of times. To help you out, we are going to talk about how to adjust the Audio, Video, and Output settings to get the best results.
Step 1- Adjust The Audio Settings
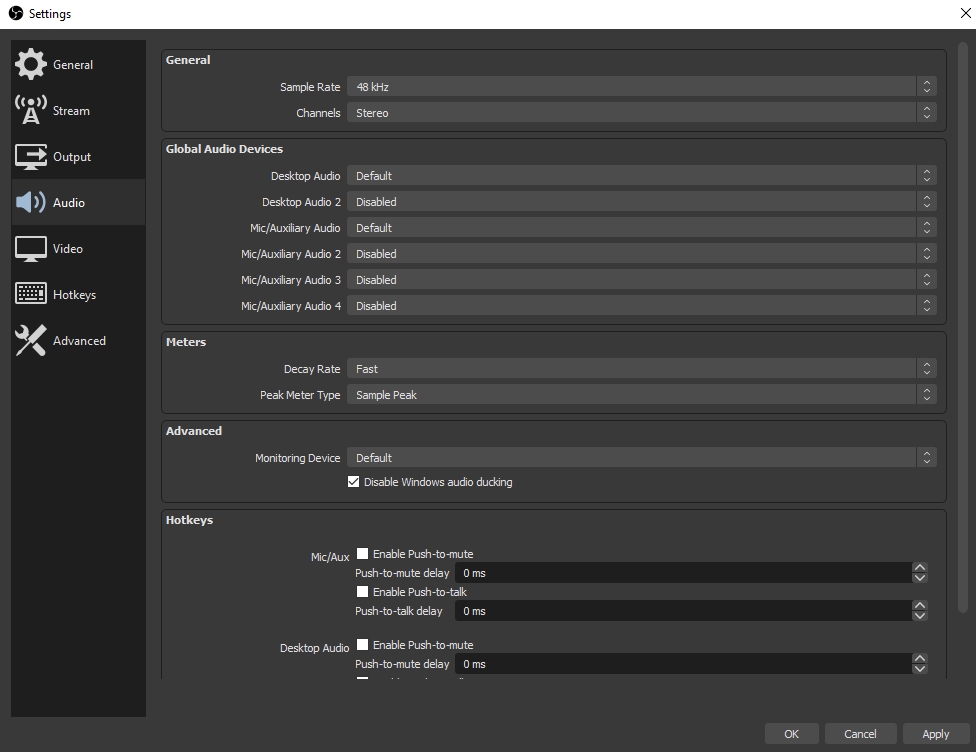
- After launching OBS Studio and going to its settings, click on the Audio option that can be found on the left side.
- Keep the Sample Rate at 48 kHz.
- Choose Stereo in Channels.
- In the Global Audio Devices section, either set Desktop Audio to Default or select your headset from the drop-down menu.
- For Mic/Auxilary Audio, select your preferred microphone.
- Keep everything else as it is.
Step 2 – Adjust the Video Settings
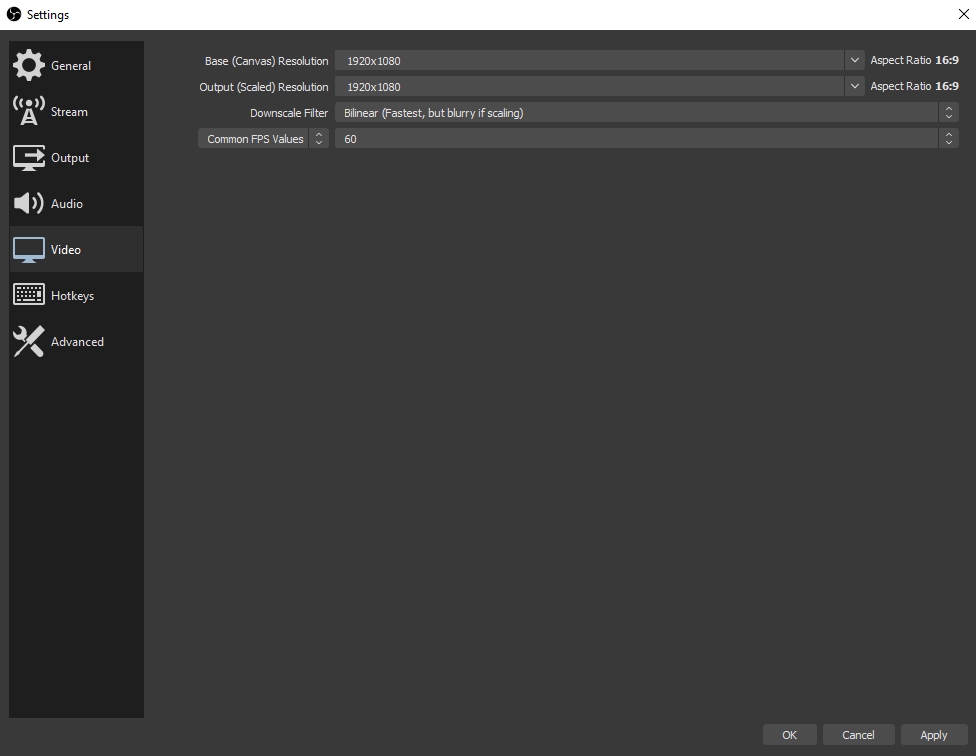
- After successfully making changes to the Audio, open the Video settings. For recording, you will need to choose the highest resolution possible.
- For both Base (Canvas) Resolution and Output (Scaled) Resolution, select the same resolution. If you have a 1080p monitor, you will need to select 1920 x 1080.
- The Downscale Filter doesn’t matter that much, but you can keep it at Bilinear.
- As for the Common FPS Values, select 60 FPS. This will ensure that the recorded video is smooth.
Step 3 – Adjust the Output Settings
- Open the Output settings after adjusting the Video settings.
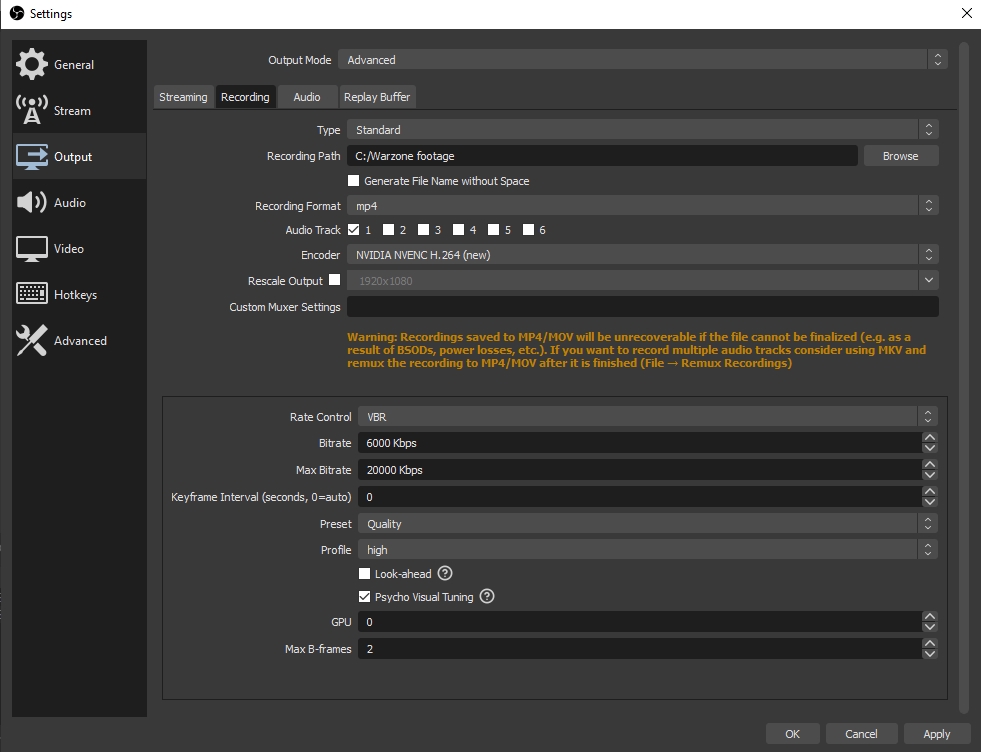
- Select Advanced in Output Mode.
- Click on the Recording tab.
- Keep the type Standard.
- Choose where you want to save the recorded file by clicking on Browse, which is right next to the Recording Path section.
- Select MP4 as the recording format.
- In the Encoder option, select NVIDIA NVENC H.264. If you have an AMD card, use x264
- Set the Rate Control to VBR.
- Set the Bitrate to 6000 if you’re recording 1080p. For 1440p, you can set it to 10000.
- Leave the Keyframe Interval at 0.
- Set the preset to Quality.
- Choose High for the Profile option.
- Disable the Look-ahead option.
- Enable Psycho Visual Tuning.
- Keep the GPU at 0, while the Max-B frames should be set to 2.
If you are experiencing lag within your recording check out our guide on the Best Settings For Recording on A Low-End PC.
Step 4 – Start The Recording
After adjusting all three settings, it’s time to record some Warzone gameplay. For this, you will need to follow the steps mentioned below.
- Click on the + button on the Scenes tab and add a new scene.

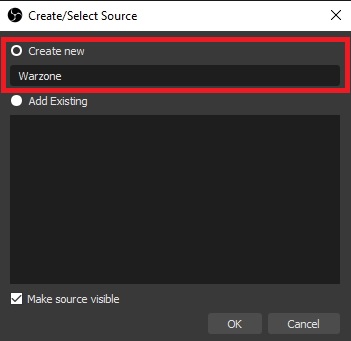
- Now click on the + button on the Sources tab, and then click on Game Capture.
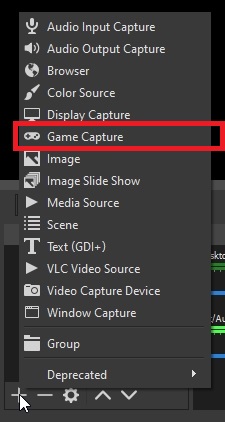
- Enter the name of the source.
- For Mode, select Capture Specific Window.
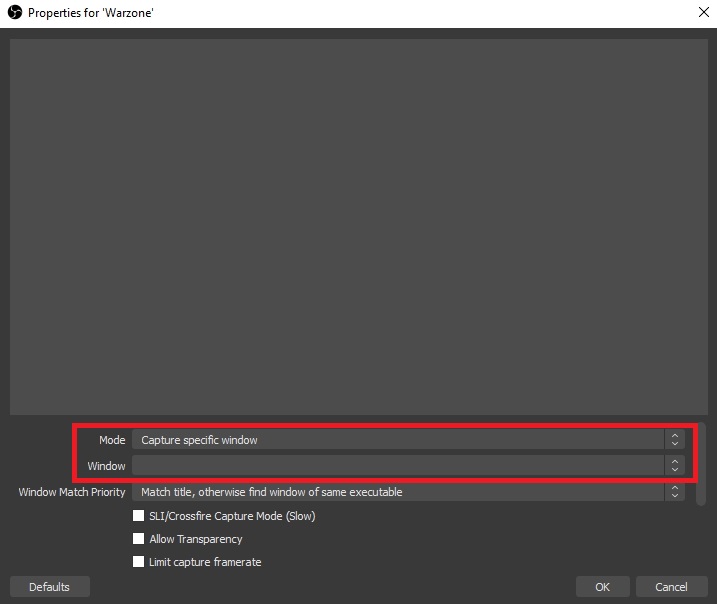
- For Window, select Warzone.exe
- Leave everything as it is and click OK.
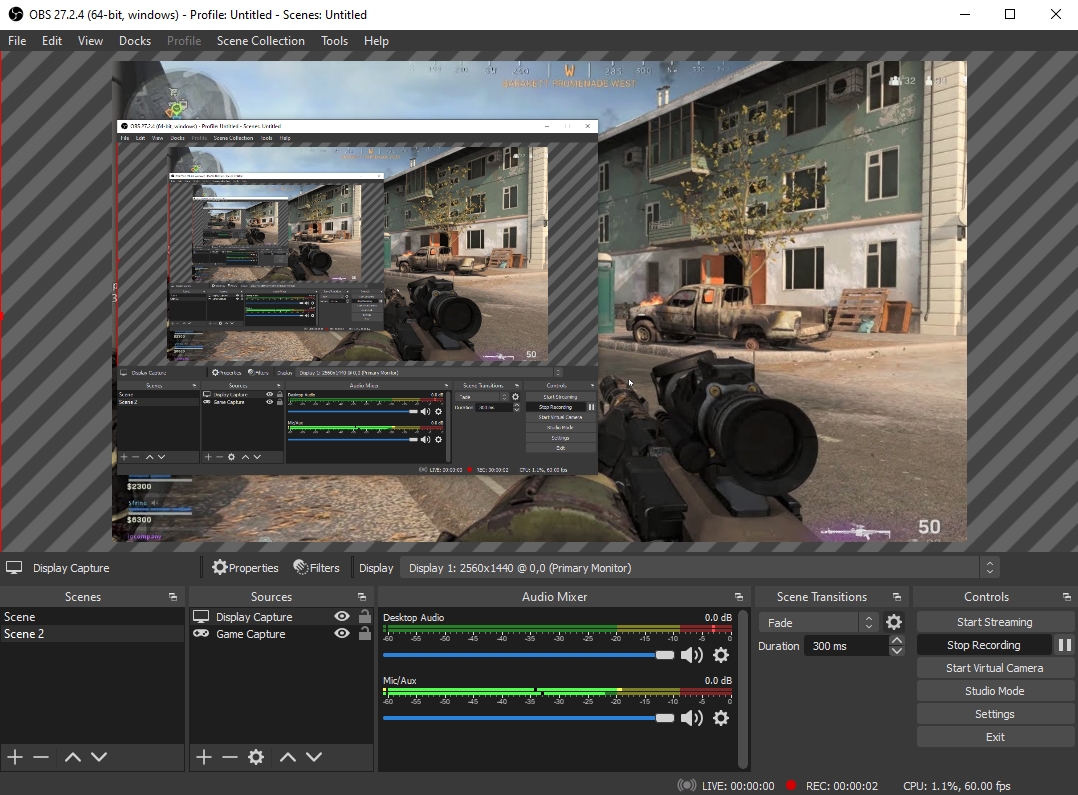
- After successfully adding Warzone to the Game Capture tab as a source, click on Start Recording which can be found under the Controls tab.
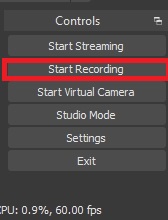
- Once done, click on Stop Recording and your footage will be saved.
Other Methods For Recording On PC
Xbox Game Bar (For Windows 10 and 10+ users only)
If you’re a Windows 10 user looking for a lag-free recording experience, Xbox Game Bar is for you. It’s a built-in tool that comes with Windows Operating Software.
However, before you can use it to record, you must first activate it, and the steps for doing so are listed below:
- In the Windows search bar, type “Game Mode Settings” and open it.
- Click ON (if not already) to “Enable Xbox Game Bar” in the “Xbox Game Bar” Tab. Also, check the box underneath.

Once your Xbox game bar is enabled, follow the instructions below to begin recording.
- To open the Game Bar, use the shortcut key Windows+G. or simply search Xbox from the search bar.
- To set it up, click on the capture icon so that all the four buttons including the recorder and microphone are visible to you.

But before proceeding, make sure that you have the Warzone (or any other game) already opened up so that the recording button is visible and highlighted in a red circle shape.
- To begin recording, select the Red circle from the four options on the game bar.
- During the recording, use the short key Windows+Alt+M to turn on and turn off the microphone.
- To end the recording, press Windows+G to bring up the Game Bar and then click the red stop button.
You can view your recording through file explorer. For this, go to “This PC” and click on “Videos”. You will see a “Captures” folder with your recording in it.
DemoCreator by Wondershare (For both Windows & Mac users)
DemoCreator is an external software that is available for both Windows and Mac users. Even though It’s a paid software, you can download the free trial version from here https://democreator.wondershare.com/.
With DemoCreator, you can record Call Of Duty: Warzone videos easily. You can capture videos without any glitches and to the best quality. It will not only assist you in recording but will let you edit them as well.
Even if you’re a complete beginner, recording Call of Duty: Warzone using DemoCreator is pretty simple. However, you may also access the complete user manual here https://democreator.wondershare.com/guide-windows/.
The following are the basic steps for recording a video with this tool:
- Open DemoCreator and select “New screen” from the menu.

- Customize the microphone, webcam, and frame rate settings to your preference.
- To begin recording the game, press the Red button.
- You may stop the recording at any point by pressing the F10 key.

After you finish recording, it will be opened in the editor, where you may edit it using the built-in tools.
Wrapping Up
This was how to record Warzone on PC. OBS Studio is currently one of the best recording software out there that can help you record high-quality gameplay. The process might seem complicated, but it’s actually pretty simple and easy.
Read More From Get On Stream:


