
Aimlab has been an extremely useful simulator to help players further improve their skills in shooters that require precision while aiming. Having a playground to test your gunplay is a fast road to perfection.
However, you will have to initially tweak with Aimlab to make sure you’re getting the most out of your experience. In this guide, we will be showing you the Best Aimlab Settings for Valorant.
How to Practice with Aimlab for Valorant
The amount of time it takes from preparation to an actual encounter in a competitive shooter is generally a waste as it does not contribute to the overall experience of a player significantly. By using Aimlab, you’re essentially dedicating all of your time to training yourself in different encounters to learn at a much faster pace than you would while actually playing Valorant.
However, before you get started, you have to make sure that Aimlab is tweaked for the Valorant experience. In doing so, you won’t feel that you have to adjust yourself hopping between Aimlab and Valorant. The transition will be seamless if you follow the settings below:
Aimlab to Valorant Settings for Sensitivity
There is a difference in the sensitivity for Aimlab and Valorant. To correct that, you have to set your game profile to Valorant.

Certain players have reported that even though they have selected their game profile correctly, they still notice a difference in their sensitivity. This problem is normally associated with your controller plugged in while practising in Aimlab.
To counter the problem, unplug your controller, and everything should work as intended.
Once you have made sure that all the above steps are completed, set your sensitivity to the one you have in Valorant, and you’re good to go!
Aimlab-Valorant Settings for FOV
Following the above steps, you should already have set your game profile to Valorant. To further refine your practice, you will have to set your aspect ratio to 16:9 along with a resolution of 1920×1080.
NOTE: If you are used to a different resolution and aspect ratio, use those.
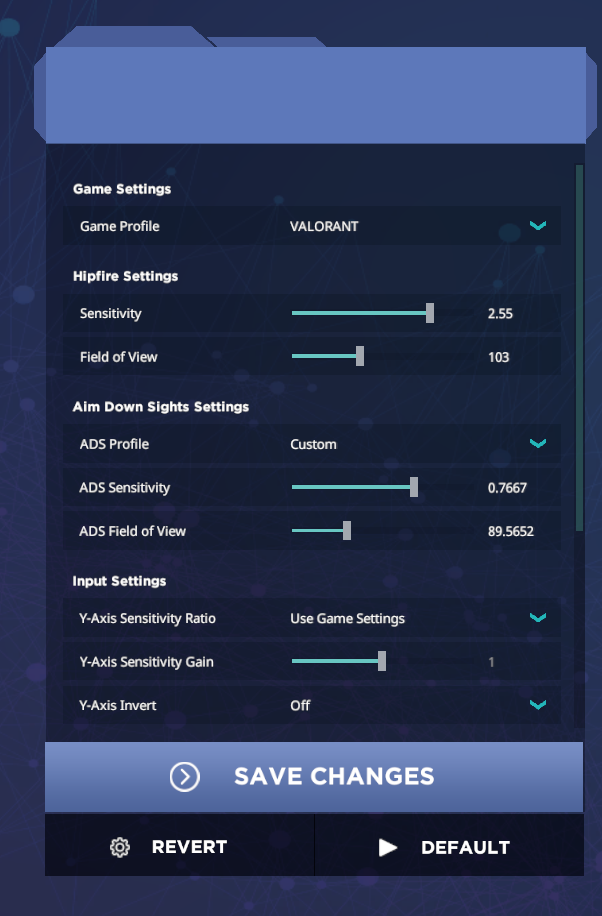
Set your FOV to 103, and your ADS FOV to 90.
At the end, your menu should look something like this.
Which Aimlab is Best for Valorant?
There are multiple exercises you can go through in Aimlab. Each of these have different use-cases. Some of these are perfectly ideal for Valorant. To emerge victorious in encounters in Valorant, you need to have quick reflexes, adequate recoil control and an accurate aim that ultimately helps make all your other skills relevant.
Here are five exercises that we recommend you try out in order to improve your game:
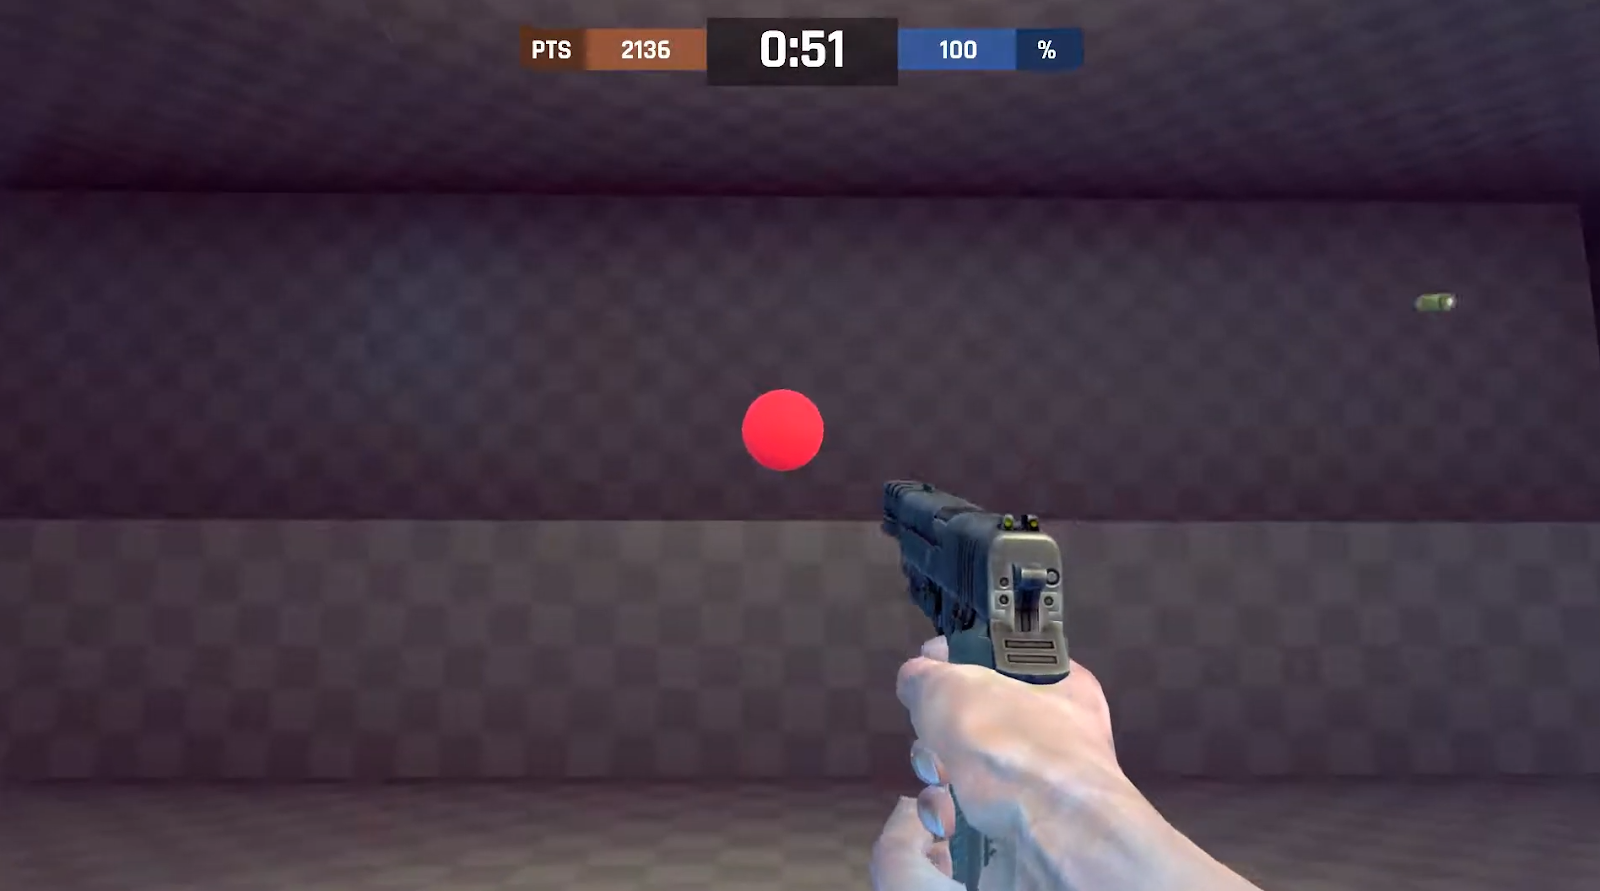
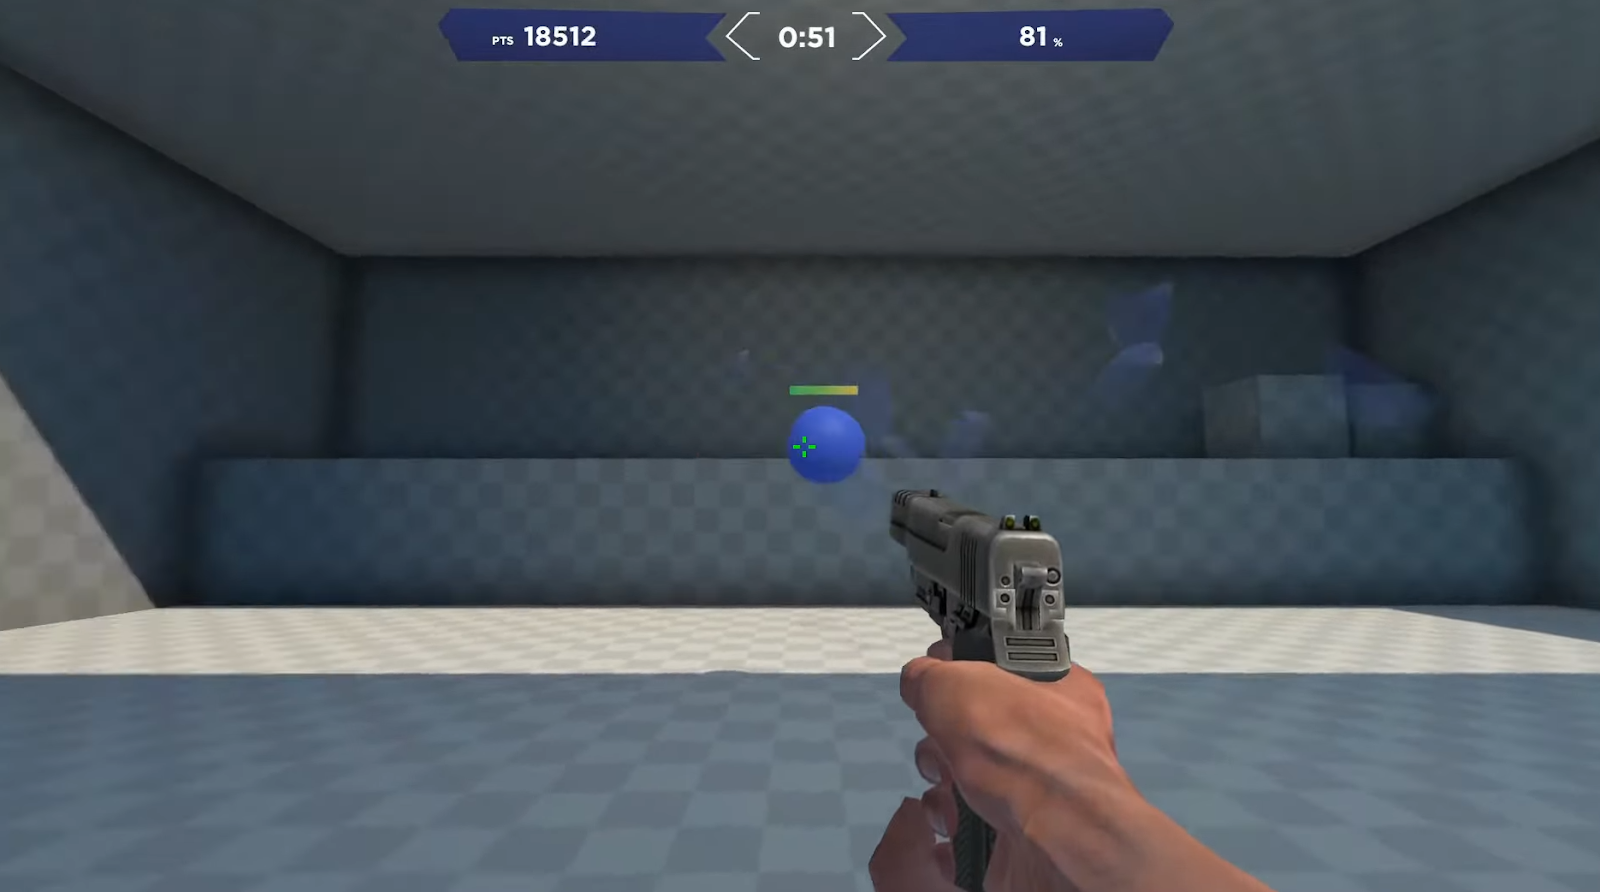
Micro Shot Ultimate
For a long time, ever since Counter-Strike, the most important aiming tip that everyone has subconsciously adopted and followed is keeping your crosshair at where you think your enemy’s head will be. This makes for minimal adjustment when the enemy shows up in front of you.
To practice this, the best exercise you can go for is the Micro Shot Ultimate. The exercise continuously spawns balls of different sizes close to your crosshair. Small and precise mouse movements are needed to accurately position your crosshair on the target.
Continue to improve by focusing on accuracy first and eventually shifting to increase your speed without compromising on overall precision.
Audiospatial 8
Footsteps and generally any kind of noise a player makes can be severely punished by the enemy team. It’s a key mechanic, and a lot of players rely on hearing to determine where they should peak and/or hold.
With the Audiospatial 8 exercise, you are able to improve your hearing in-game by relying on audio cues that give away the position of a marked orb. As you are placed into the exercise, there are a total of 8 orbs that spawn around you.
Focus on the sound and find out where the correct orb is. The exercise also forces you to flick accurately.
By practising enough, it will be harder to get caught off-guard by flanking enemies.
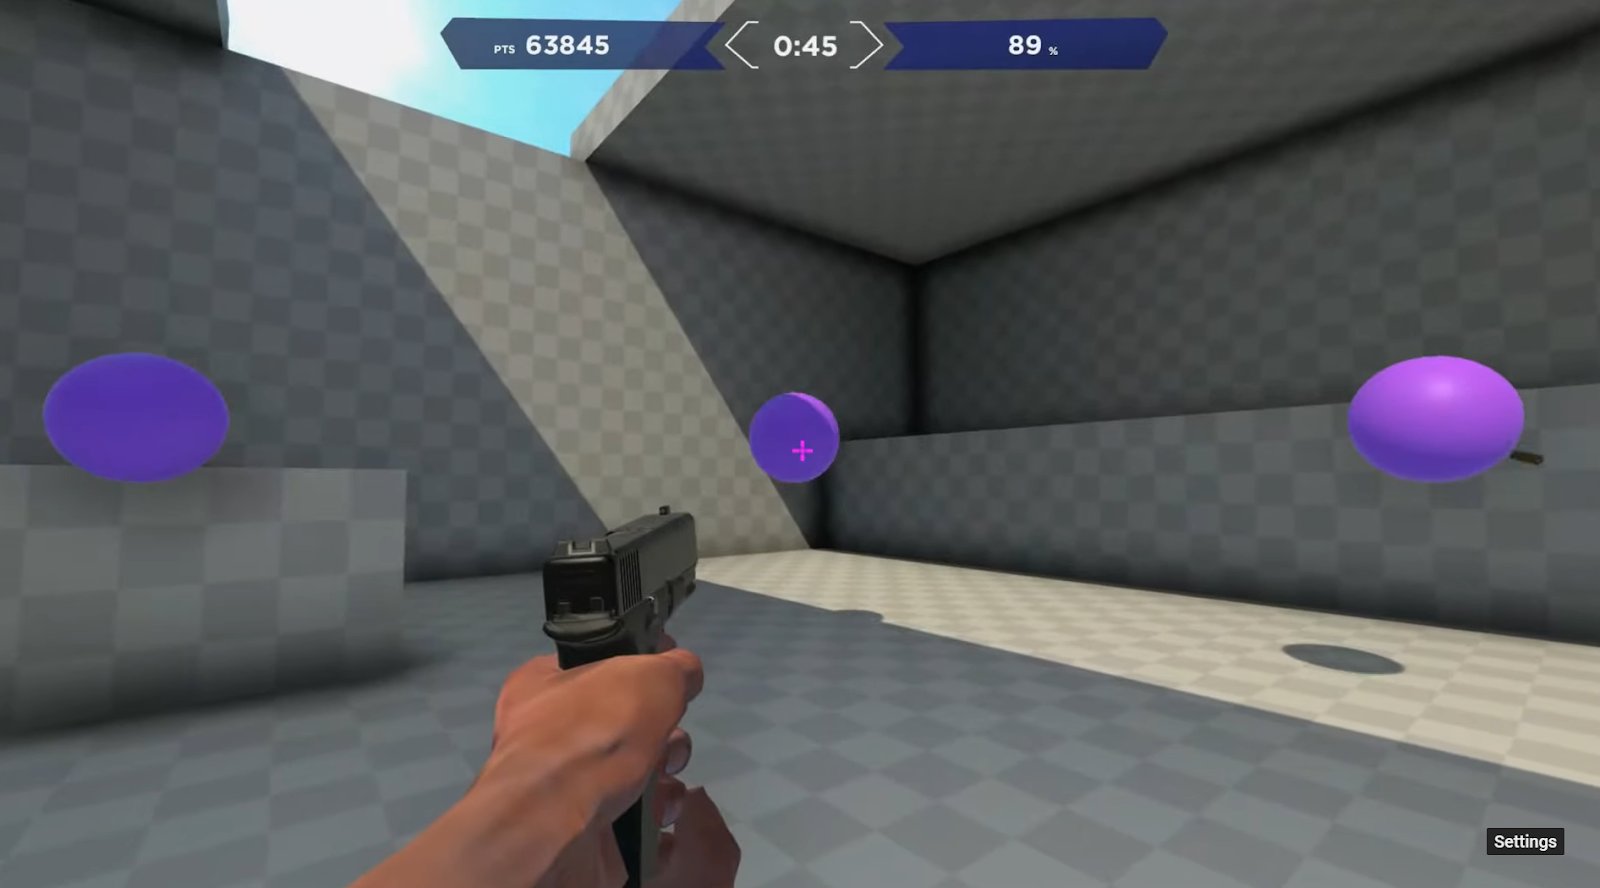
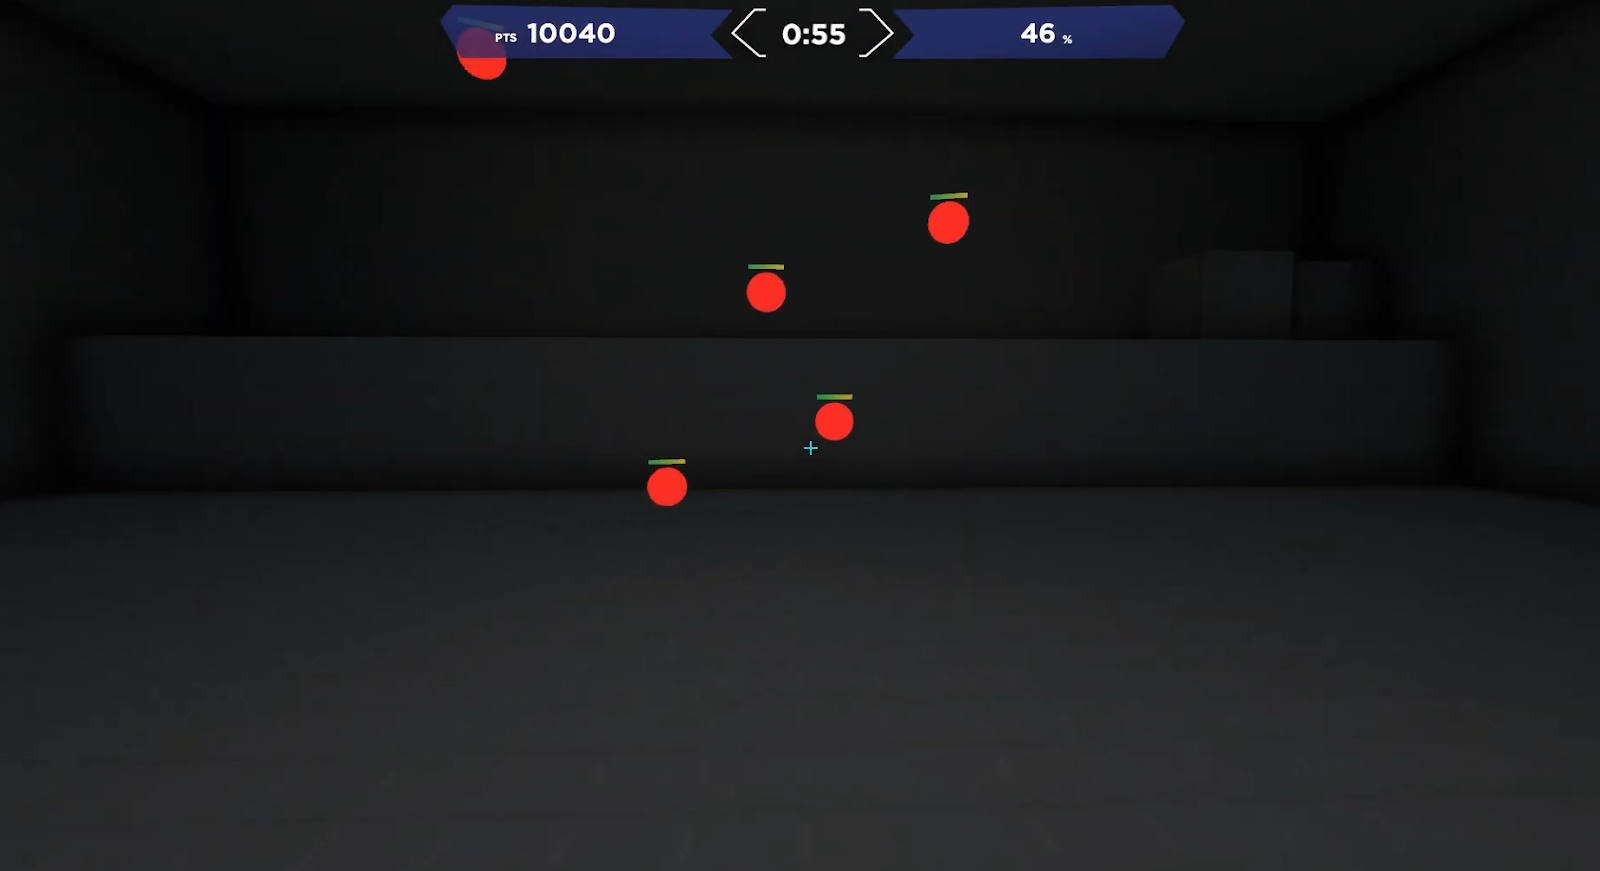
GridShot
This exercise is aimed at improving your overall aim in Valorant. The goal is to shoot as many orbs as possible. By putting in a few hours into this exercise every day or so, you should improve how fast and accurately your crosshair moves in a heated situation.
If multiple enemies show up around you, you should be able to keep yourself calm and shoot each target accurately to maximize your chances of survival. Aim for above 90% accuracy.
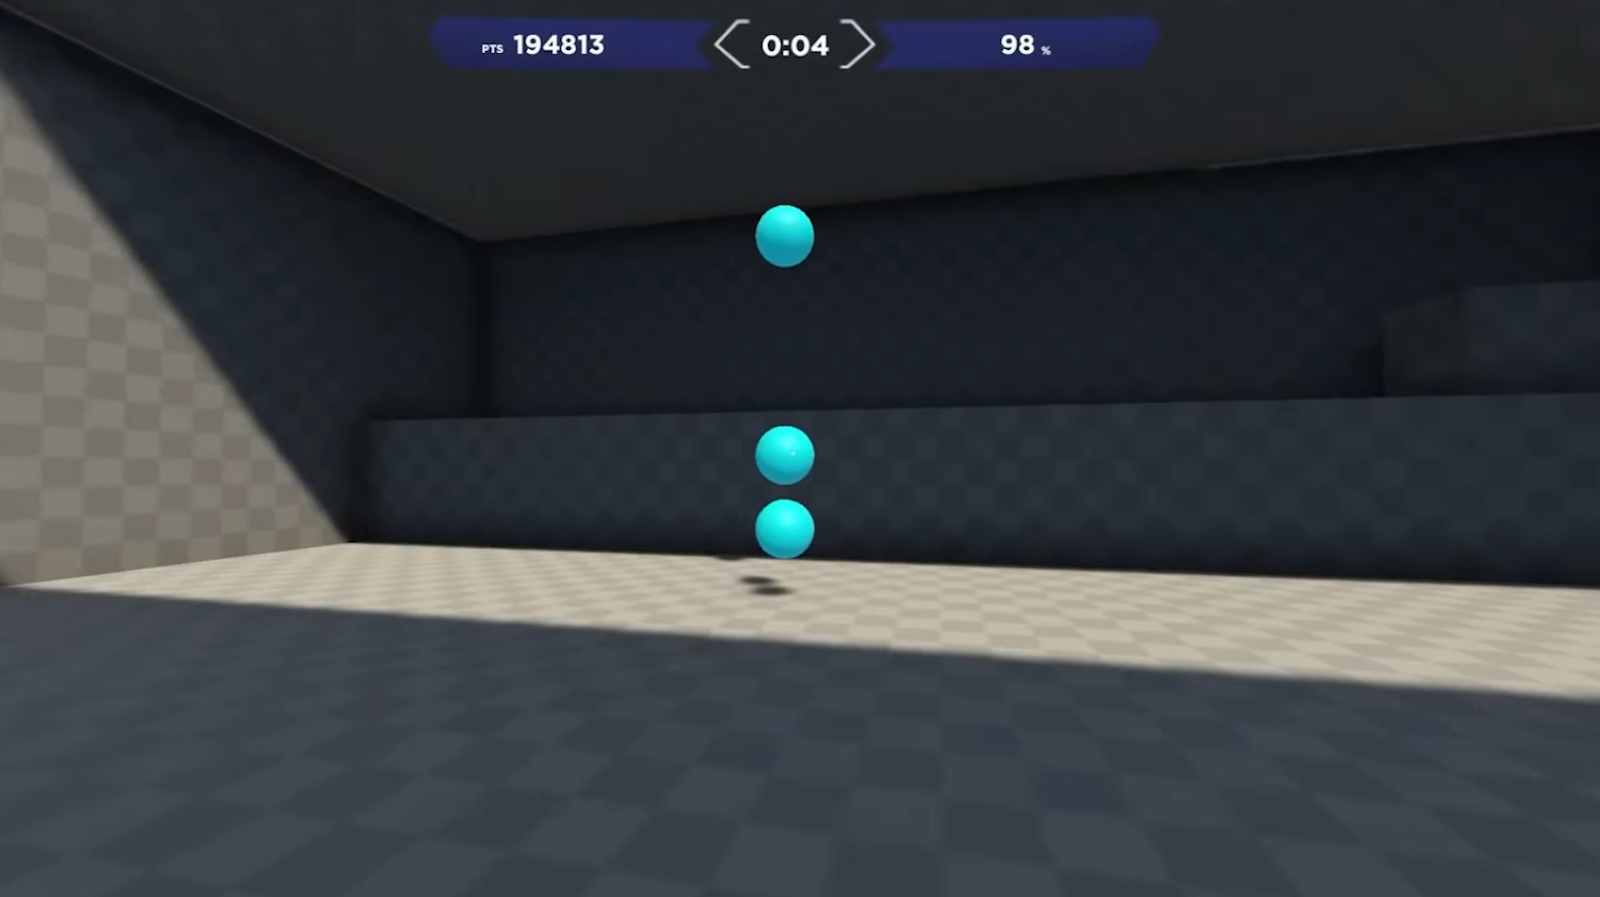
Strafe Track
Moving around in Valorant will disturb your accuracy making your shots spread all over the place. To counter this problem, players have to stand still before they shoot at anyone. Failing to break your momentum will result in inaccurate shots, giving the enemy player a chance to make their move.
Through the Strafe Track exercise, you will learn the time it takes after stopping to stabilize your aim and shoot accurately. By getting the timing down to the T, you can engage in firefights much more efficiently and take your game to the next level.
Switch Track
Prioritization is important for survival in an encounter with multiple enemies. What this means is that you have to target players based on an arbitrary order, where you shoot the enemies that possess the highest level of threat to your character and go down from there.
While the Switch Track exercise doesn’t provide you with a good way of measuring threats, it does allow you to practice how to kill in a multi-player encounter with minimal cross-hair adjustment. Start the exercise, and shoot at a target, only to flick to the next one, which requires the most minimal crosshair adjustment.
Wrapping Up
Most of us play games for fun, and sometimes losing can get increasingly frustrating. To overcome the skill curve and start competing with players above your skill level, it is definitely recommended that you give Aimlab a shot by adjusting the settings with respect to a game that you actively play.
You will notice marginal improvements within a shorter time span than you would while actually playing the game.
Read More From Get On Stream:


